Recipe Box 1/12th scale by Fatima

YouTube Tutorial....
click on picture to take you to YouTube
Kit number 2 from Show Gift bags handed out to the first 300 tickets sold.
Full instructions. Also ask me for file...if you have a Cricut. It's free to you. Just watch the YouTube video and comment that you would like the cut file. Have fun!
click on picture to take you to YouTube
Kit number 2 from Show Gift bags handed out to the first 300 tickets sold.
Full instructions. Also ask me for file...if you have a Cricut. It's free to you. Just watch the YouTube video and comment that you would like the cut file. Have fun!
|
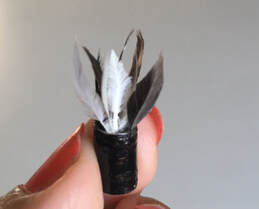
SPIDER PLANTS - BY JUDY ROSMUS
Part of the goodies in the show package included quilling paper of various widths and colours. (Somewhere) we provided a list of YouTube tutorials that used quilling paper.
Materials required Image #1 Making the Main Plant -If you need to change the colour of your quilling paper, try Tim Holtz distress ink or a felt pen. Image #2 -Once you have a green colour you are happy with, add a white stripe to the centre to mimic a real spider plant Image #3 -Cut an assortment of ½ to 1 ¼ inch strips for main plant, slightly taper the ends (save the scraps for the baby spiders) Image# 4 & #5 -Using the edge of scissors, curl each leaf softly (curls best if done just after the quilling paper is damp from the distress ink or felt pen) Image #6 Make Baby Spiders -Cut 3 - 5 pieces of green cloth covered wire, dip end in glue and add 5 – 9 pieces of the scraps left from tapering the main leaves. Image #7 Add the green wire to the bundle of centre leaves that you created. Image #8 Be sure leaves face upwards, as that is the natural growing position of baby spiders Image #9 Bend wires down to look natural Image #10 -When happy with your arrangement, glue into a pot. Continue to fill the pot with the longer leaves if needed to fill in the plant. Let dry. Image #11 & #12 |
MOVE MOUSE OVER THE PICTURES TO SEE THE IMAGE NUMBERS
Links to Tutorials by others using Quilling Paper.
Shivanni Creations - Tea Set Nithu’s Quilling Creations - pots and bowls PRIKNOWtomakeit - Flower pots |


Paint Cans (1/12th scale) Trash to Treasure

YouTube Tutorial....
click on picture to take you to YouTube
Last year the show gave out paint pots. One of the show attendee made up this cute little idea of turning them into paint cans. Jess M. Made up the instructions and Judy made up the actual tutorial ... Judy took the pics. I made up the lables you see here and are free to download. This will be one of the kits in this year's show giftbags. Link to labels:
|
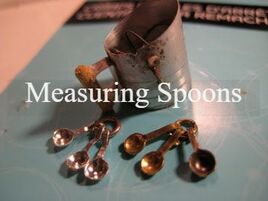
Measuring Spoons - by Studio E
Youtube Video - Click on Image
Youtube Video - Click on Image
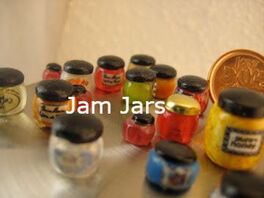
Jam Jars - by Studio E
|
|
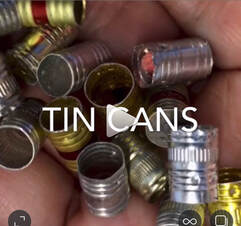
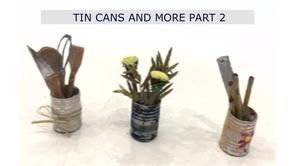
Tin Cans - Part 1 - by beauxminis
Youtube Video - Click on Image
Youtube Video - Click on Image
